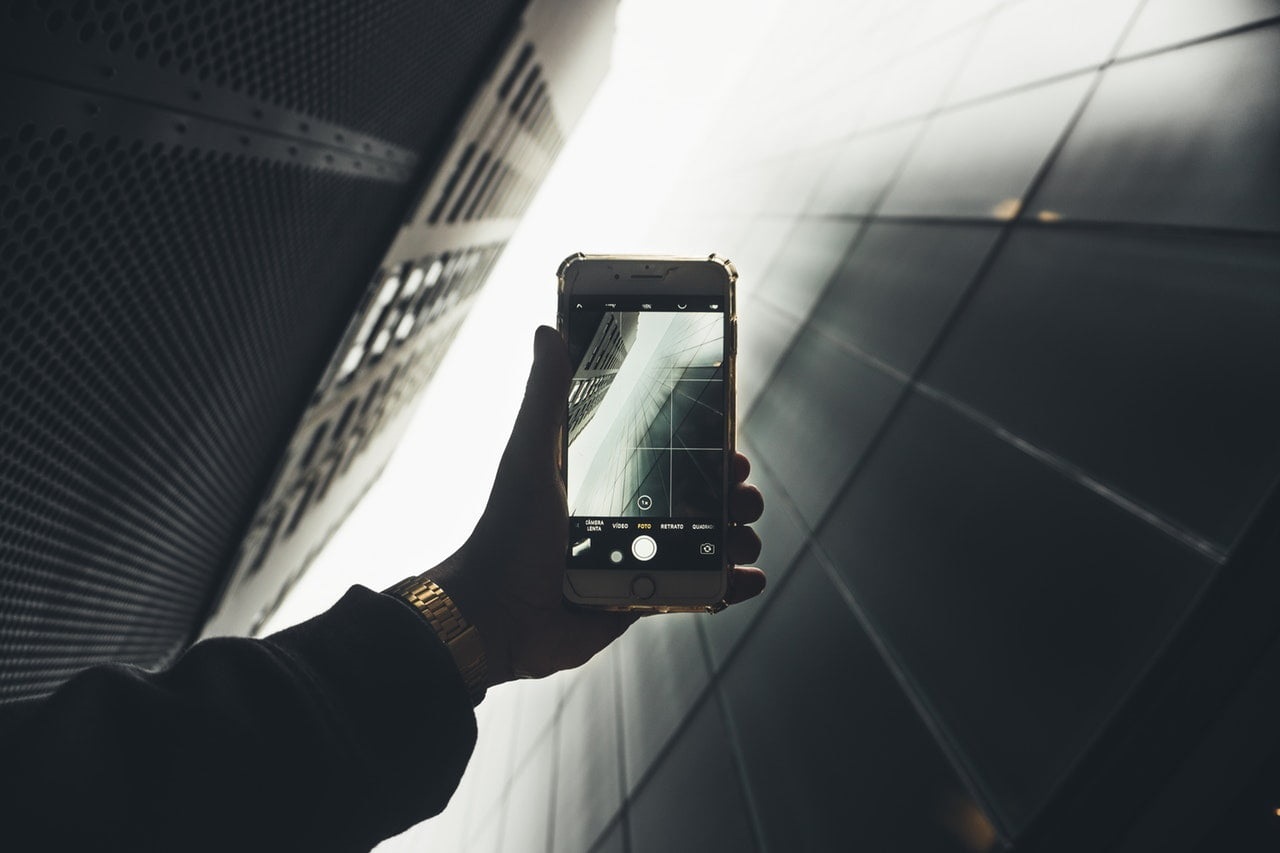
You don’t have to be an expert photographer to get great images with your smartphone, but the hints and tips in this article will hopefully help you to take your phone photography to the next level.
Try Using Manual Settings
Most modern smartphones have a manual settings option for using your phone camera, and it can really make a big difference to your photography. To really get the best out of the manual mode, there are some great free tutorials online that will give you an in-depth explanation of it.

HDR and non-HDR photo
Experiment With Different Modes
Smartphone technology advances mean that there are now several different camera modes you can use. Have fun experimenting with them!
- HDR Mode: This mode takes fast, multiple images of the subject at different exposures. It then merges them using software, and produces a colorful final image that has detail in shadows and highlights. This mode is great for shooting skies in daylight, landscapes, architecture, or if there is minimal light in the foreground of your subject.
- Panorama Mode: This allows you to shoot over a wider area, such as capturing a whole city skyline. To use, you need to move the smartphone along horizontally along a predefined line to get the shot. The camera takes multiple shots, and stitches these images together to create one wide, panoramic image.
- Portrait Mode: This mode adds an artistic effect to your portraits by keeping your subject sharp, and blurring the background to add depth of field. This mode is good for close-ups.
- Burst Mode: This mode takes a burst of shots in rapid succession, and it’s great for capturing action or sports scenes, so you don’t miss anything.
- Time Lapse: You can download an app to enable your smartphone to capture the passage of time through photographs. You’ll need a smartphone tripod or clamp for this to keep the phone totally still. This is great for scenes where there is something happening, such as a street, a sunset, or a flower bud opening.
Download a Camera App For Your Phone
Your built-in smartphone camera is fine, and you don’t have to have the latest model, but a built-in phone camera app does have limitations. If your phone will support it, think about downloading a dedicated mobile camera app. Adobe Lightroom mobile is a great choice, but there are others like the totally free Open Camera app, or Camera ZOOM FX Premium. Find one that suits you and your skill level, and take some time to practice and become familiar with it.
You can manually adjust shutter speed, ISO, white balance and other settings when you shoot using these apps. Again, it’s advisable to look at some tutorials and practice before you go out to shoot.
Set the Focus
Different smartphone brands will have different ways of fixing the focus, but often it’s just a case of tapping on the screen where you want to camera to focus.
For some phones you can manually lock the focus by tapping on the screen and holding it down for a few seconds until the focusing square or circle changes color, and this tells you that the focus is now locked. You can then re-compose your shot, and the focus will remain the same because you have locked it. Read your phone’s manual to find out if you can do this with your phone camera.

‘Rule of thirds’ grid
Learn Good Composition
How your image looks has a lot to do with composition, and it should be balanced, with all the elements in the shot working to create a harmonious photo.
Your phone camera probably has a ‘rule of thirds’ grid that you can overlay your shot with to help improve your composition.
Where those lines intersect on the grid, or just above one of the horizontal lines, is where you should place the items of interest in your photo for the most pleasing composition. Eventually you’ll learn to do it naturally and won’t need the grid, but it’s a useful tool.
Another compositional trick to use is leading lines and diagonals. Leading lines are straight or diagonal lines that draw your viewer’s eyes in to the main subject.
Don’t Zoom
If you use your phone’s zoom function to get in close and fill the frame, you’ll end up with very poor image quality when you look at it closely – it will look pixilated, especially if you are looking at it on a larger screen, such as a desktop computer
Try to get in closer to your subject. When you go to edit your images later, you can use your editing software to remove any unwanted extra space around your subject.
Edit Your Images
Your phone will probably have a basic image editor built-in, or you can download a photo-editing app.
If you have access to a computer with editing software, try uploading your images to it and editing them on the larger screen – it makes a big difference to be able to see all the details on your images, and your editing will be better for it. You can use powerful image editing software like Lightroom, Luminar, GIMP, ON1 or others to refine your images.
The main things you’ll want to do are to tweak the exposure, color and contrast, and perhaps crop to reframe your subject.
Final Thoughts
Everyone is a photographer these days, and smartphones have helped to make that possible. With a little care and a bit of preparation, you can be taking photos with your phone that will stand out from the crowd.


